


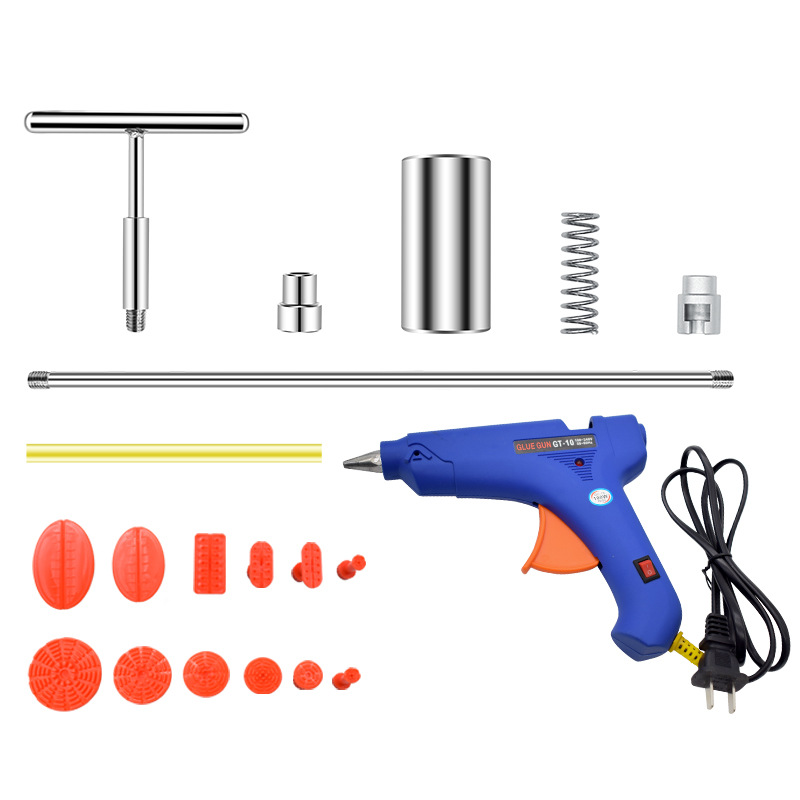
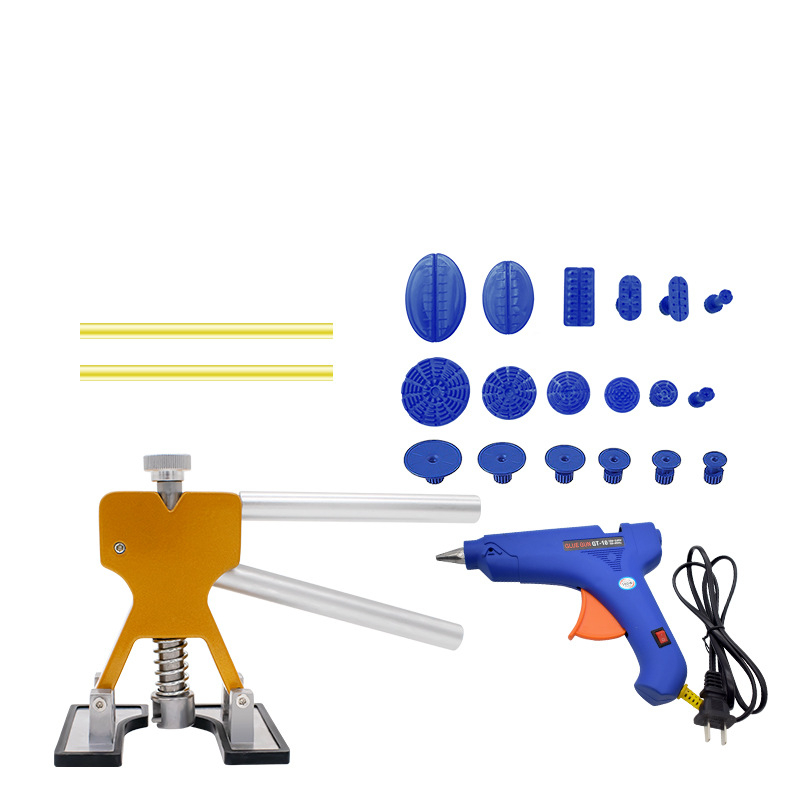
Werkzeuge Auto Reparatur Werkzeug Auto Dent Reparatur Dent Puller Kit 2 in 1 Slide Hammer Reverse Hammer Kleber Tabs Saug tassen
- Free worldwide shipping
- In stock, ready to ship
How to use this dent removal without repair kits
1. clean the dent with a clean, damp cloth;
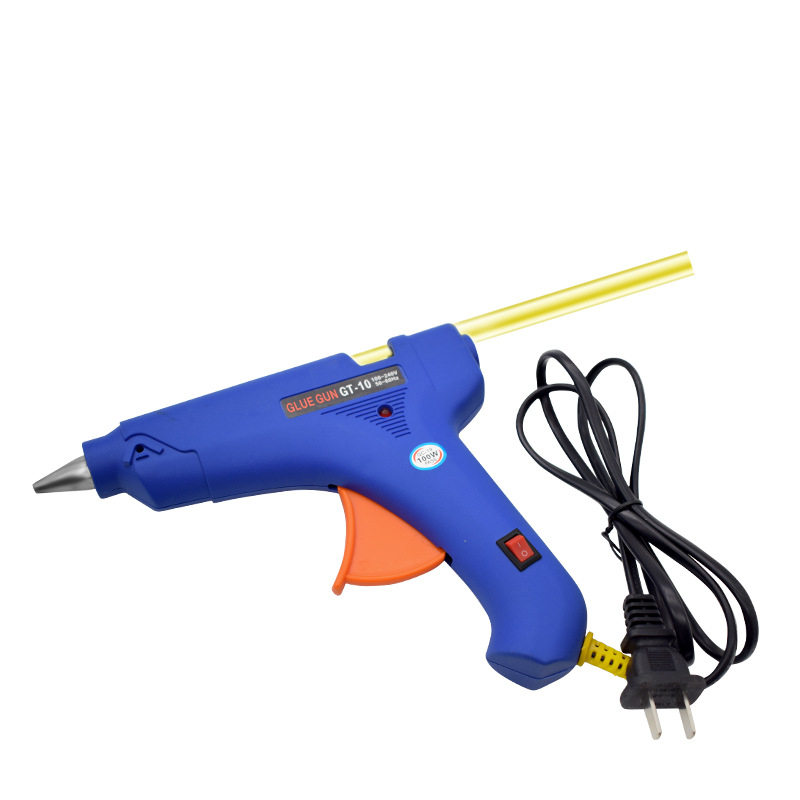
2. Assemble the glue in the glue gun, pull the trigger to let the glue stick in the glue gun, connect the power source and preheat for 5 minutes;
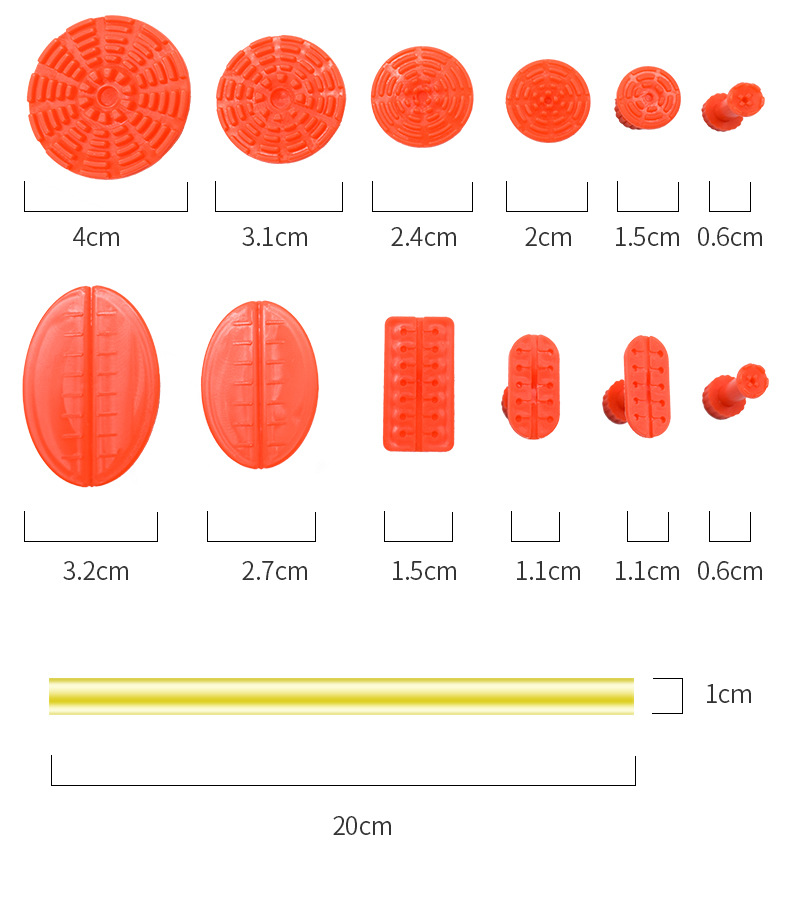
3. Use a proper drawing seal. Large dent requires a large drawing seal. (Note: the larger the
Drawing seal is, the larger the drawing force is); 4. Pull the trigger and apply the drawing gasket with extruded glue (The 4 holes of gasket should be applied with hot melt glue);
5. Quickly spot the drawing seal with hot melt glue in the center of the dent, press gently until the glue hardens and sticks (Let the glue cool for about 8 minutes. The cooling time should be less than 10 minutes and should be slightly shorter in winter);
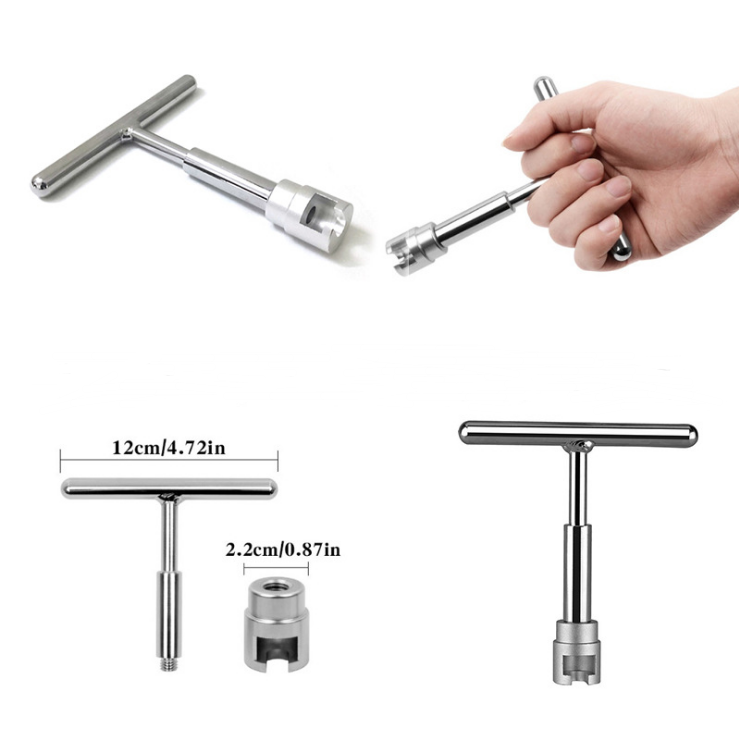
6. Align the T-shaped repairer and press the drawing seal with hot melt glue, pull the sliding rod backwards to pull up the dent;
7. Check with a line board. If dent still exists, knock it lightly with a flattening hammer or pen;
8. Clean the repaired place with a clean, damp cloth.
Use collapsible tabs for more detailed information that will help customers make a purchasing decision.
Ex: Shipping and return policies, size guides, and other common questions.

